


CYLINDER TUNE MRB2134
Theres nothing worse than photos of a tuned cylinder – it’s so boring.
Photos don’t always speak a thousands words! Especially if the photo is blurred – you see nothing or if they are zoomed in too far – you see nothing but scratches! I prefer a photo that your eye would see, even then unless you’re a tuner you have absolutely no idea the amount of time, effort, skill and money in equipment that goes into doing a decent tuned kit.
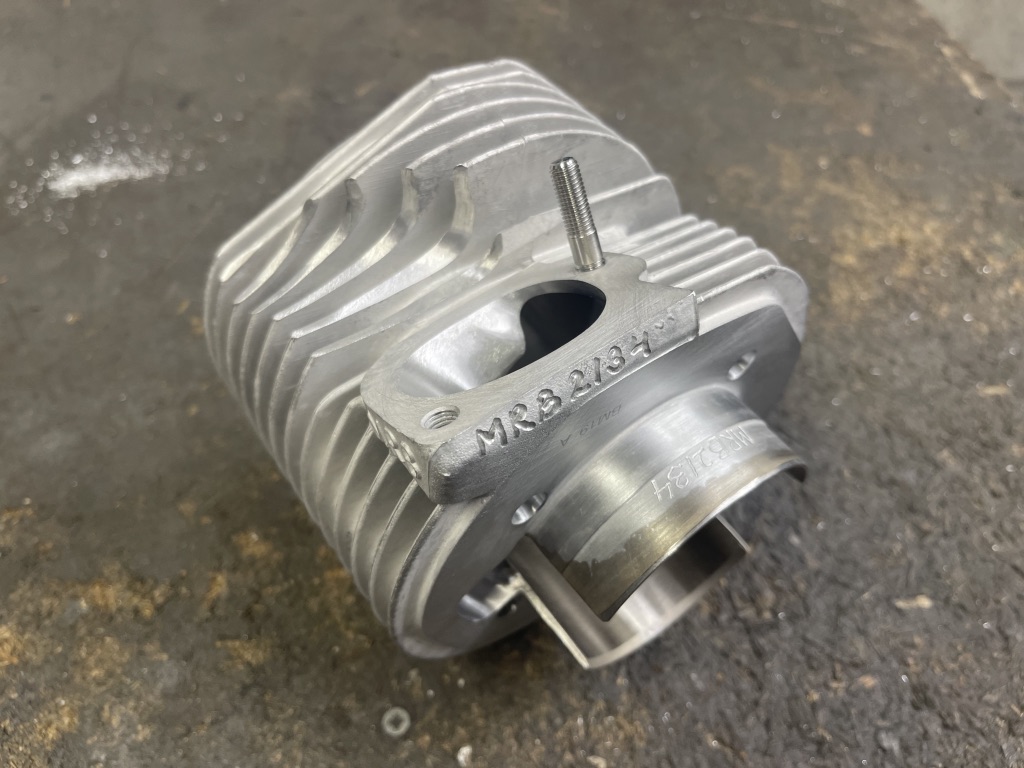
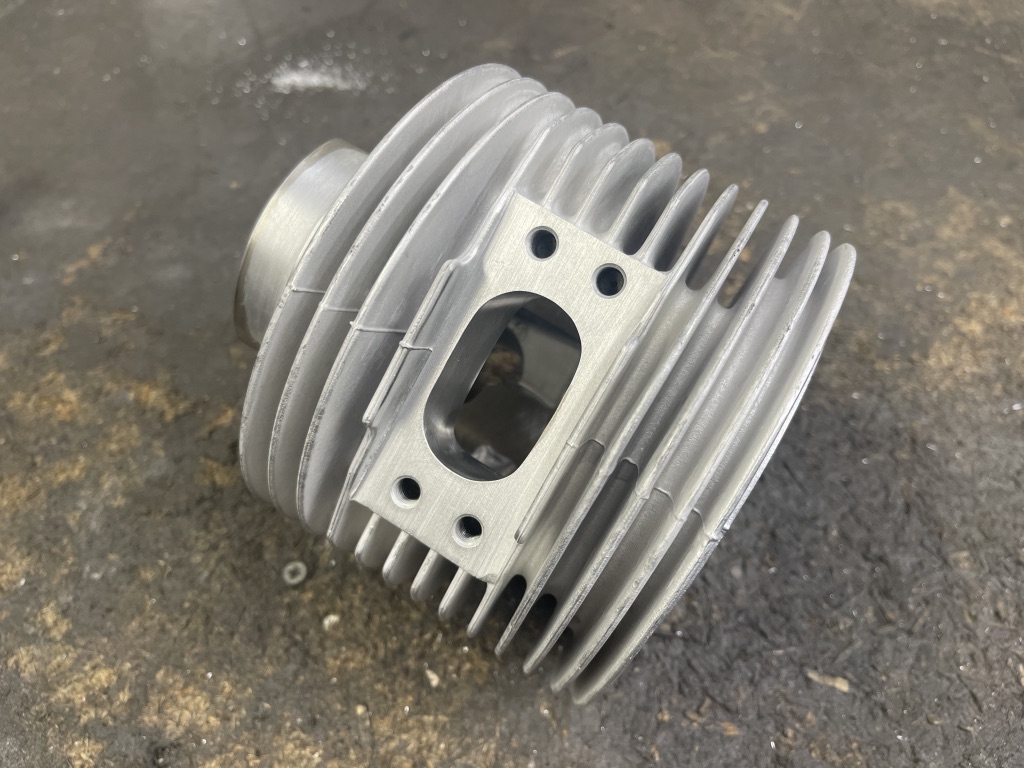
If you flick through the photos, I’ve tried to show the stages of a MB tune to a RT Reed cylinder.
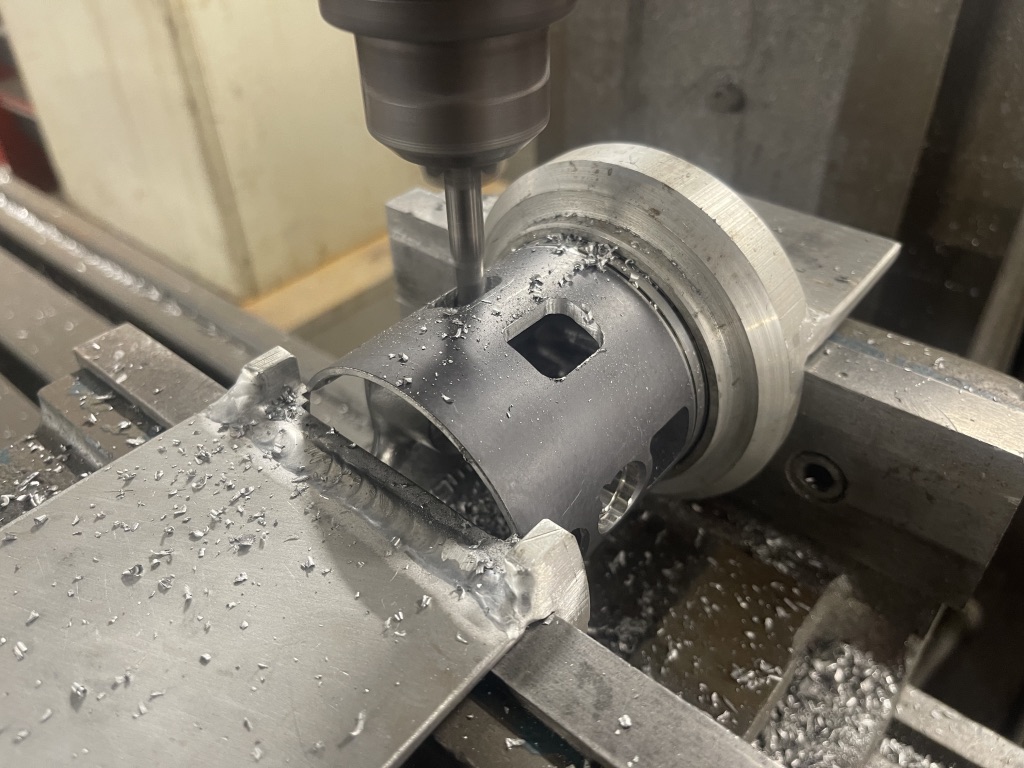
Theres the setting up and marking out. Thats marking out with a fine scribe line – not pencil lines they are just not accurate enough. You will see my tuning jig that I use on most RT kits. This is done to set up each style of a RT tune based on which ever crankshaft you are using either a 58×107, 58×110, 60x110mm, forget the 60x107mm. The jig sets up new porting specs for the basic 58x107mm, and it also allows a kit to be set up with 58/60x110m where you can tweak the cylinder by lowering the kit to give more low down pulling power for the wide styles amongst us, you can set it to give an all round drive to suit most and theres the top end spec to set up the boy racer type cylinder – this is what makes the RT cylinder so versatile.
But the RT cylinder has got to be the hardest cylinder kit to tune out of all of them. Do it wrong and you will be chasing your tail trying to catch up trimming back flacking plating. Most cylinders you can cut through the plating and nothing happens. This is not the case with some RT cylinders. You can tune a couple and nothing goes wrong, try the next one and oh my god what’s happened! Anyone who says the RT kit is easy to tune – either hasn’t done one or has just been lucky or they haven’t tuned it right!
I use so much equipment to cut through the liner safely. This tooling isn’t tooling you have lying around the house! A Black and Decker drill is no good to cut up a RT cylinder!
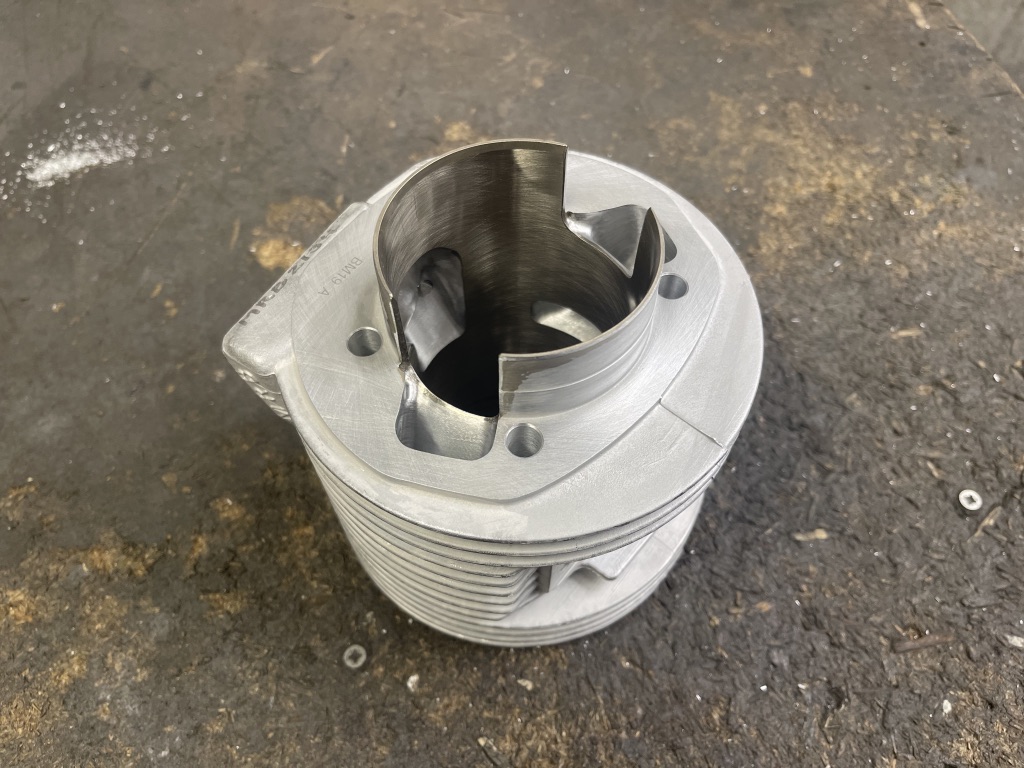
From marking out, you have to cut back the liner to the marks, and you have to get a chamfer in there as well. And to do this you need left and right hand cutting machines. Then you can rough out the port and slowly break down the rough cuts to become finer and finer until you get to the finish you want. And this goes on until the kit is done. Get a bad liner and you can be at it another hour on top of your tuning work!
And don’t forget the piston needs altering for the Reed valve tune, so you need a milling machine to cut the holes and chamfer.
These kits are not an easy DIY try it at home kit!
I even invested in diamond honing tools to clean the bore after the tune to find any high spots and blend them out. Not everyone and that includes dealer/tuners has £1800 for the hones let alone have the correct honing machine. Three legged stone hones or glase busters won’t do on the RT cylinder!
If you haven’t got the correct tools and the skill, don’t waste your time and money get a professional to do it. Today the latest kits come with the cylinder holes at the wrong size, they need drilling out. The studs and nuts lock up when tightening so you’ve to run a tap and die down them – thats another 10 minutes or so on to the tune.
Anyway follow the photos, it will give you an idea on how to tune the RT kit.
All in a days work!


Any comments email mark@mbscooters.co.uk


