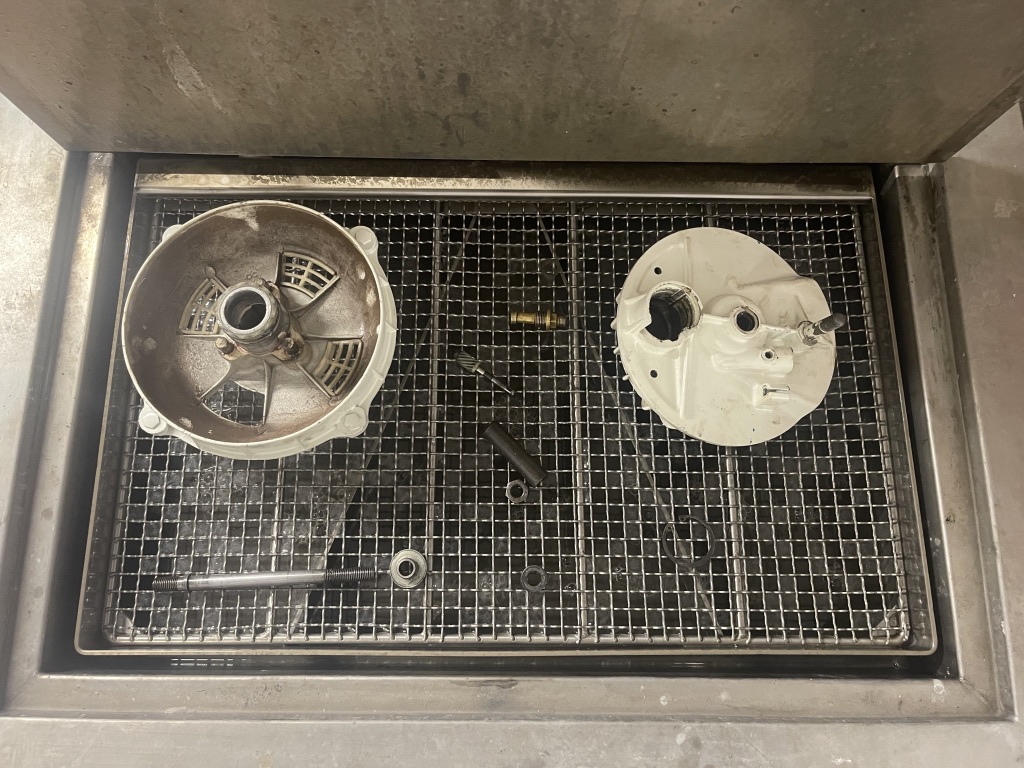
I’ve lost count over the years how many disc hubs I’ve built.
Disc hubs can be a right pain in the arse! Some strip easy, some don’t and some are totally seized and are a nightmare!
As with lots of Innocenti designs, disc hubs are very weak! They twist and distort in normal use, some crack in places as well! Put them in the hands of another big hand fisted bloke – well you don’t even need big hands, hit them wrong and they will break in places.
Some complain discs don’t work, well especially standard cable operated hubs, hydraulic ones where much better. Theres some built in design flaws! The Innocenti disc hub was the first enclosed disc hub to be fitted to a bike, okay thats the good bit but you need to do some mods to make them work right.
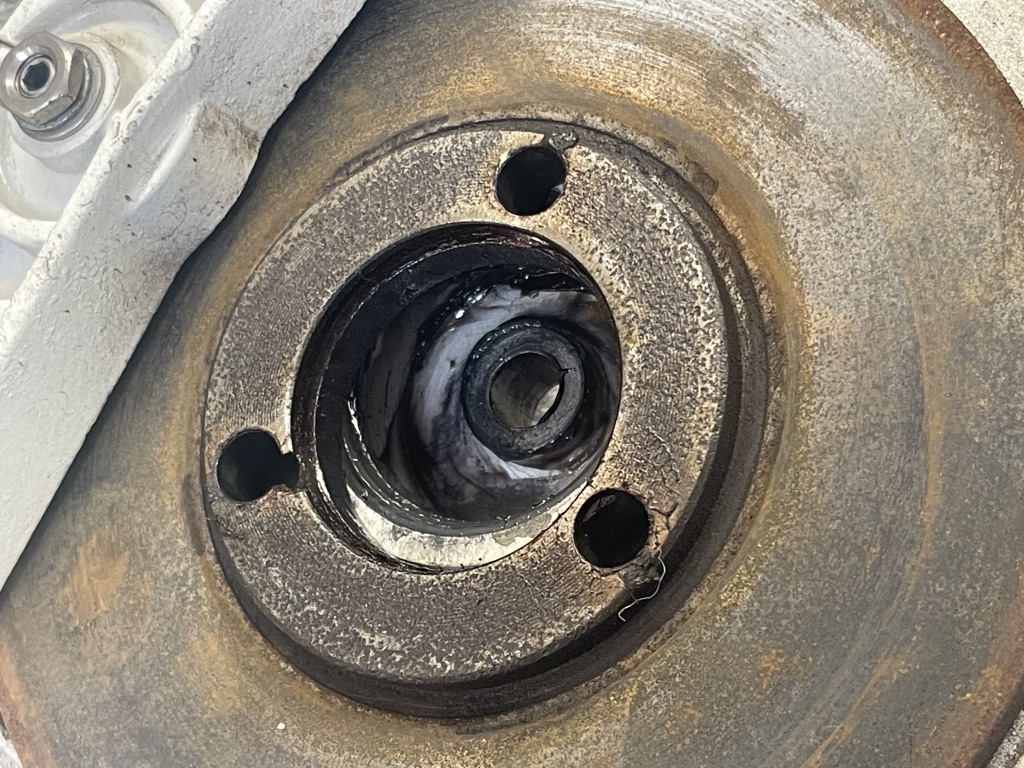
The main problem is – people say they don’t work. Fitting the original thicker cable helps but these are not available these days. The problem is – there is an anti rattle clip fitted in the disc. Yes it stops the disc clunking and rattling but it stops the disc floating on the 3 pins which it should. Over time the disc, anti rattle clip and 3 pins can seize up! The trick is to get the disc to float. In the old days Webbo suggested drilling the 3 holes out in the disc. With the anti rattle clip removed the front end clunks and bangs when the brakes are applied and gets so annoying!
I stopped drilling the disc out. Instead I removed the anti rattle clip and make sure the 3 holes in the disc are free on the 3 pins. This requires honing the disc and cleaning any rust off the pins. This hub came with 2 discs, the spare one was an after market drilled disc – not my favourite so didn’t us it. This customer was worried about a chip on the disc – this happens when the anti rattle clip is removed, which is a right pain to remove as it’s such a tight fit. You can leave the clip in place and hone the clip so its slides on the hub. Any little chips on the inner side of the disc are no issue at all.
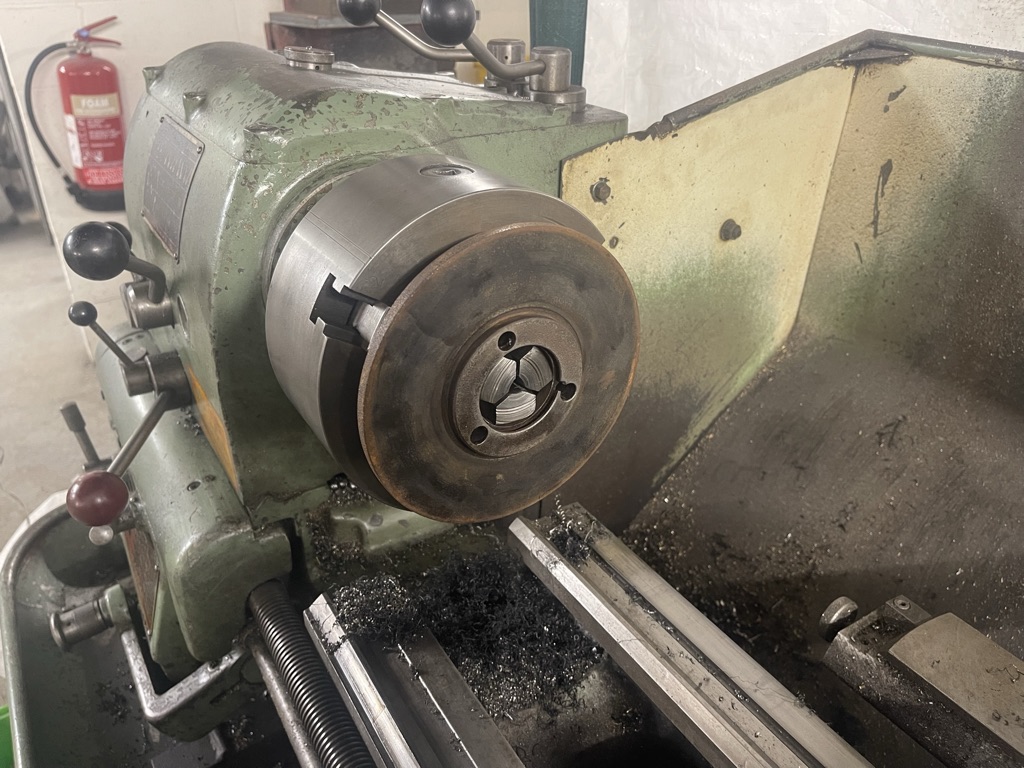
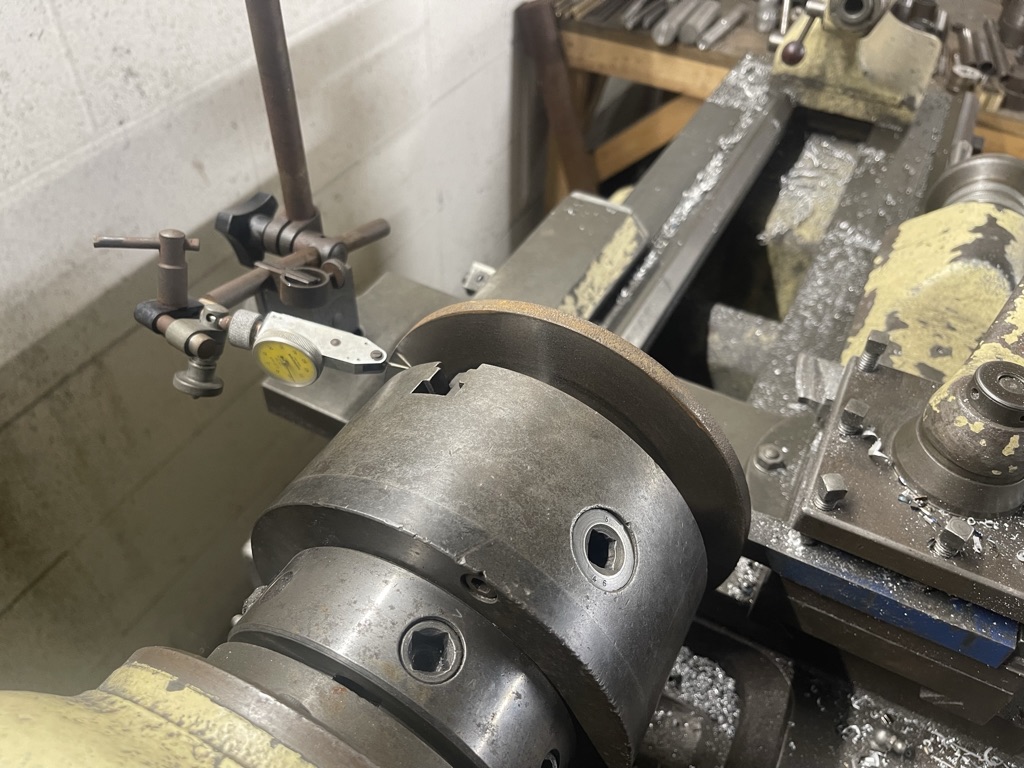
Discs rust – thats a fact! And they corrode and pit and they distort. Providing they are not too bad you can mount them in a lathe, clock them up and remachine true both sides so when the brakes are applied there shouldn’t be any juddering.
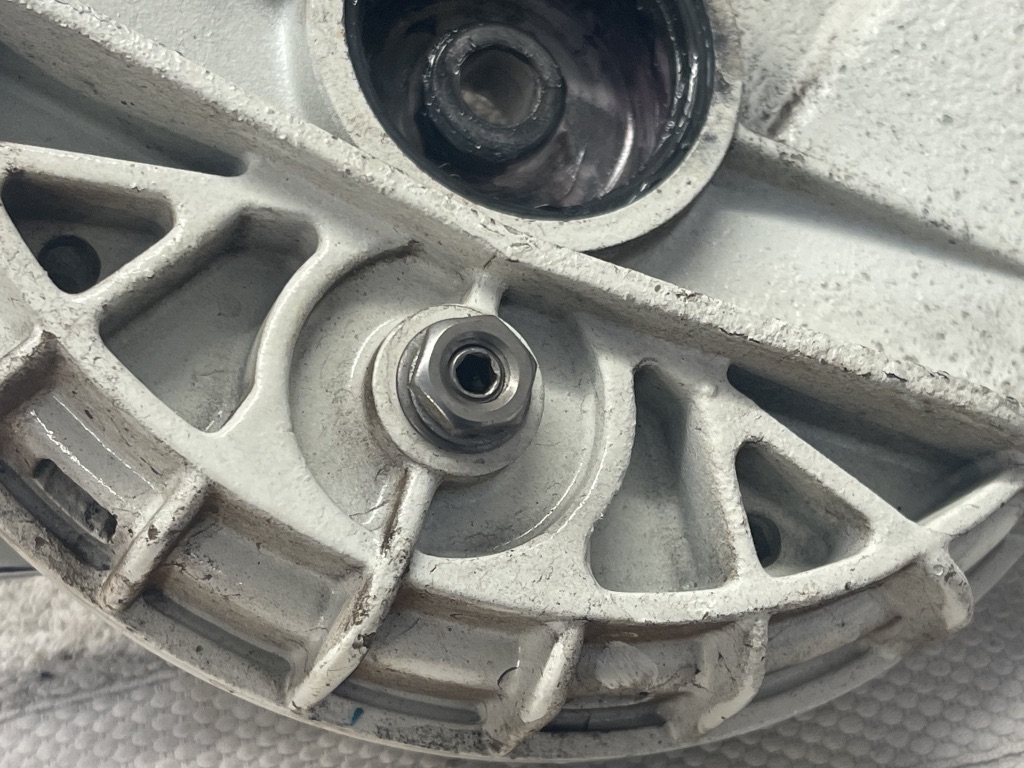
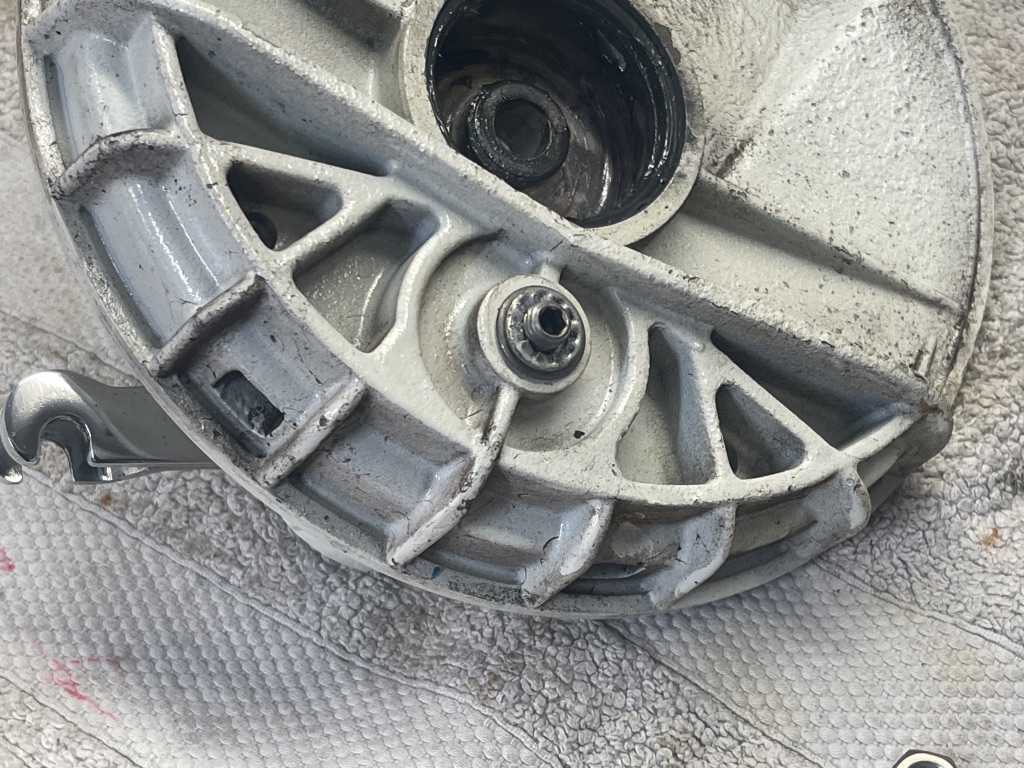
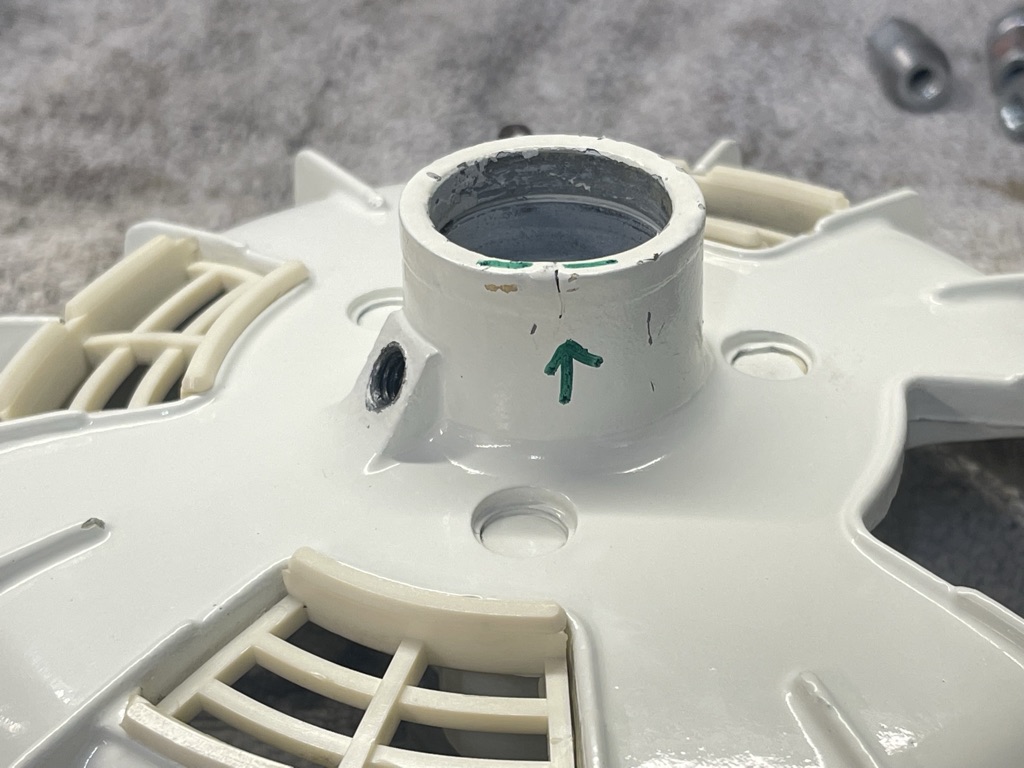
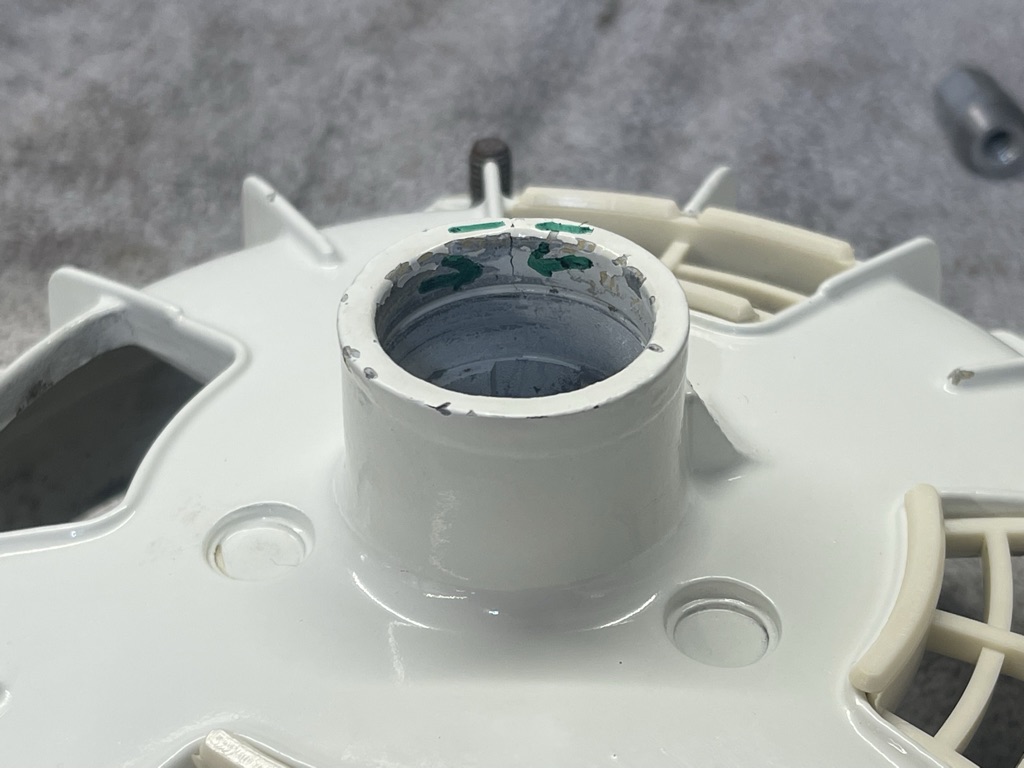
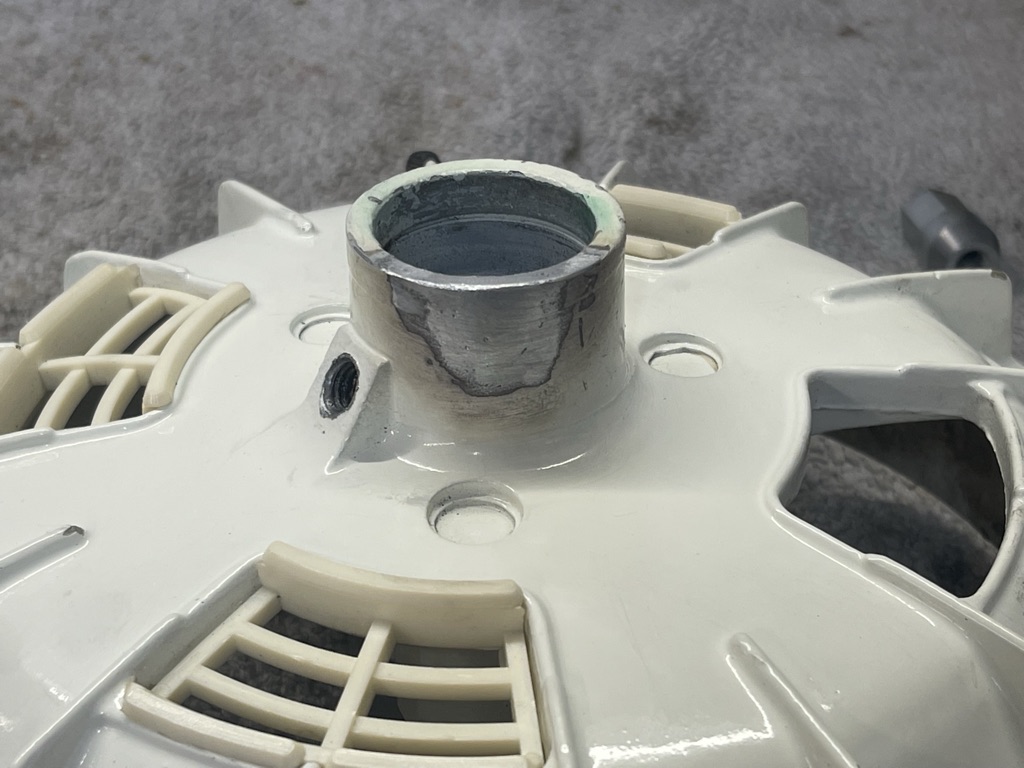
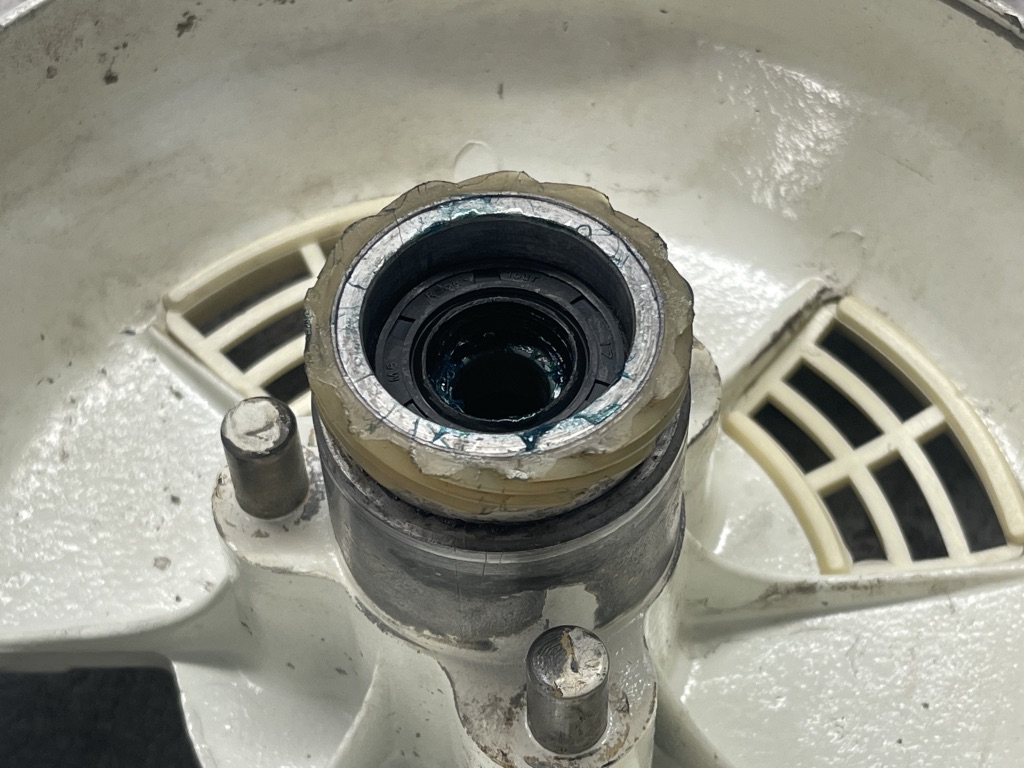
The main weak point on a hub is the outer area where the front hub bearing fits with the circlip. This one had a crack, if you don’t know where to look, you miss it, this was missed and there was paint in the crank. It really showed up when fully stripped and ultra sonically cleaned.
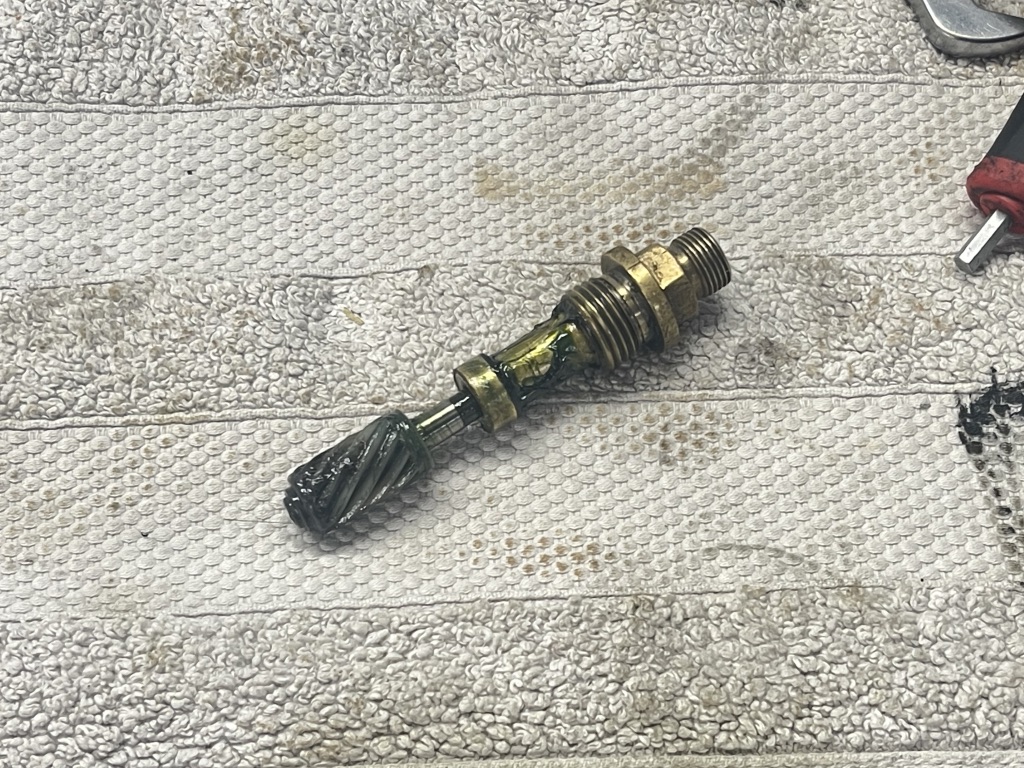
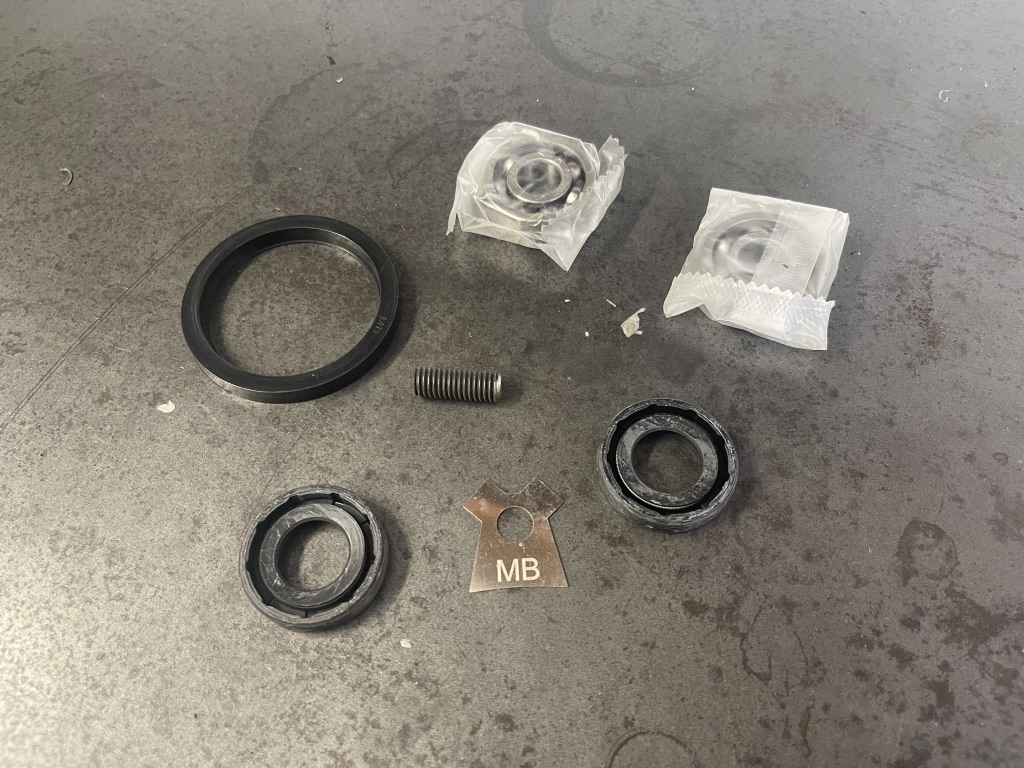
Even though the hub looked good on arrival it had the seals fitted the wrong way! The spring should be fitted towards the bearing. This way the grease can not be forced out when pumping grease in the grease nipple in the hub or when the disc gets hot and the grease thins out. If the spring is outward the grease comes out! Some hub seals are factory fitted wrong! This hub had no disc static pad fitted, it had a spring washer, which will work but I like to do the job right and I like to set the disc pad adjustment correct then lock the screw and half nut in place.
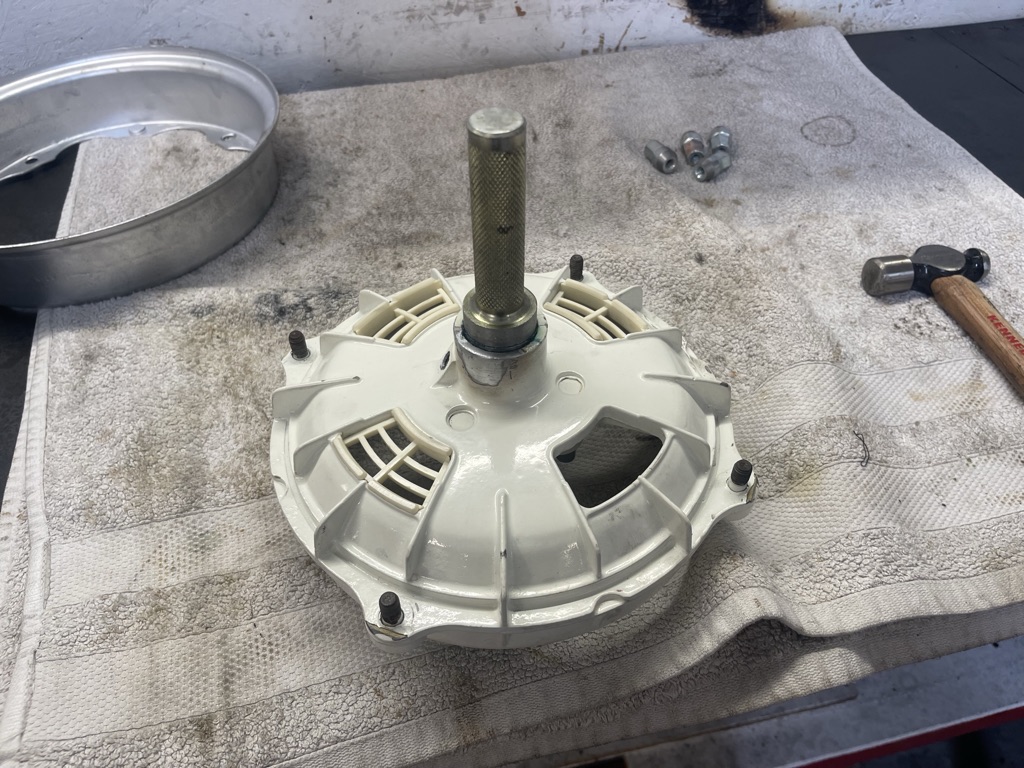
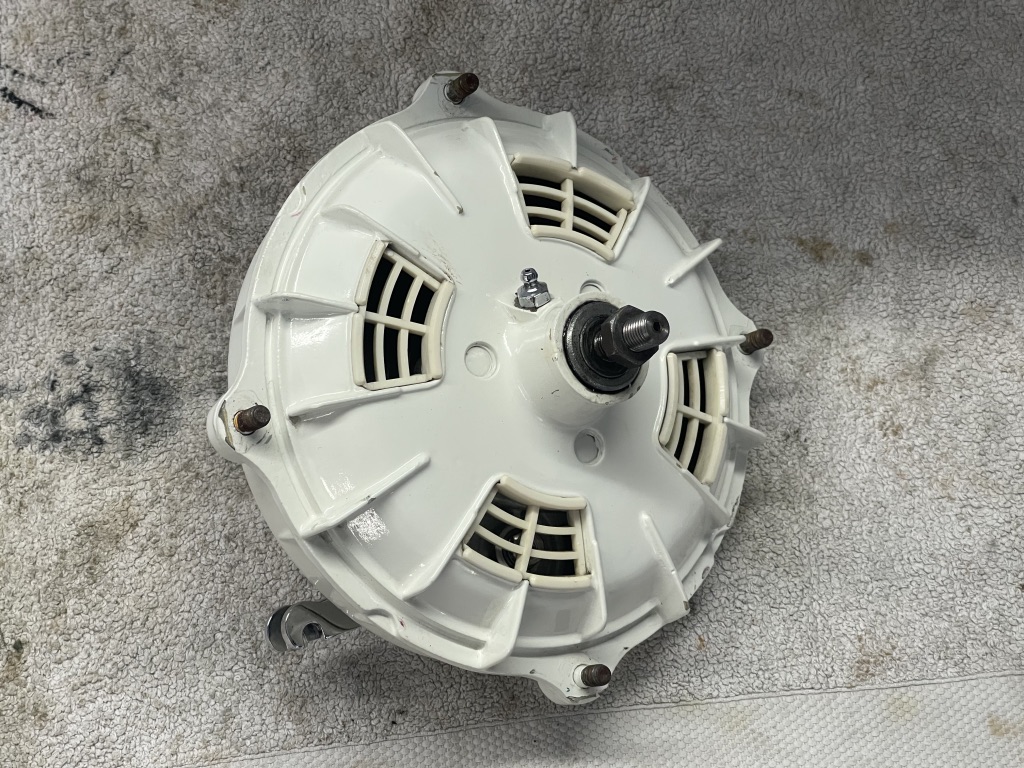
Once cleaned and free of old grease and dirt, the hub crack was carefully ground, fitted with a special steel blank to hold it in position, welded, then dressed up. The letter asked me not to scratch the paint! Well I did my best as I used an extended workshop rim tool to stop paint getting chipped! When you weld a hub paint has to be removed and the heat also causes paint damage – it can’t be helped!
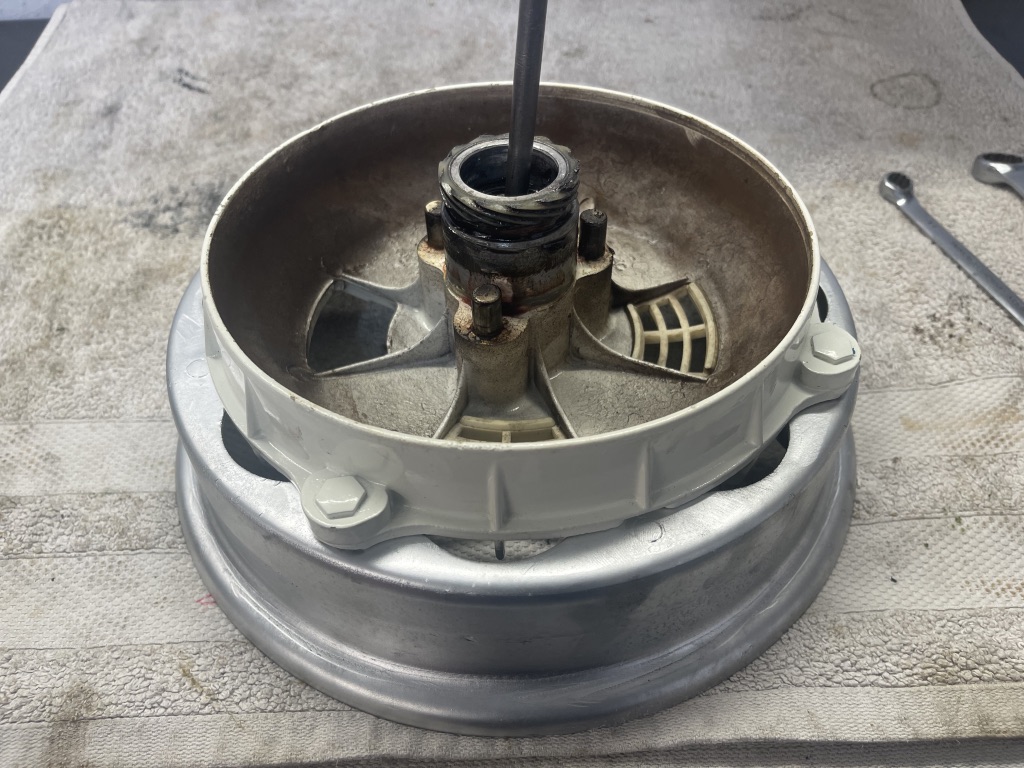
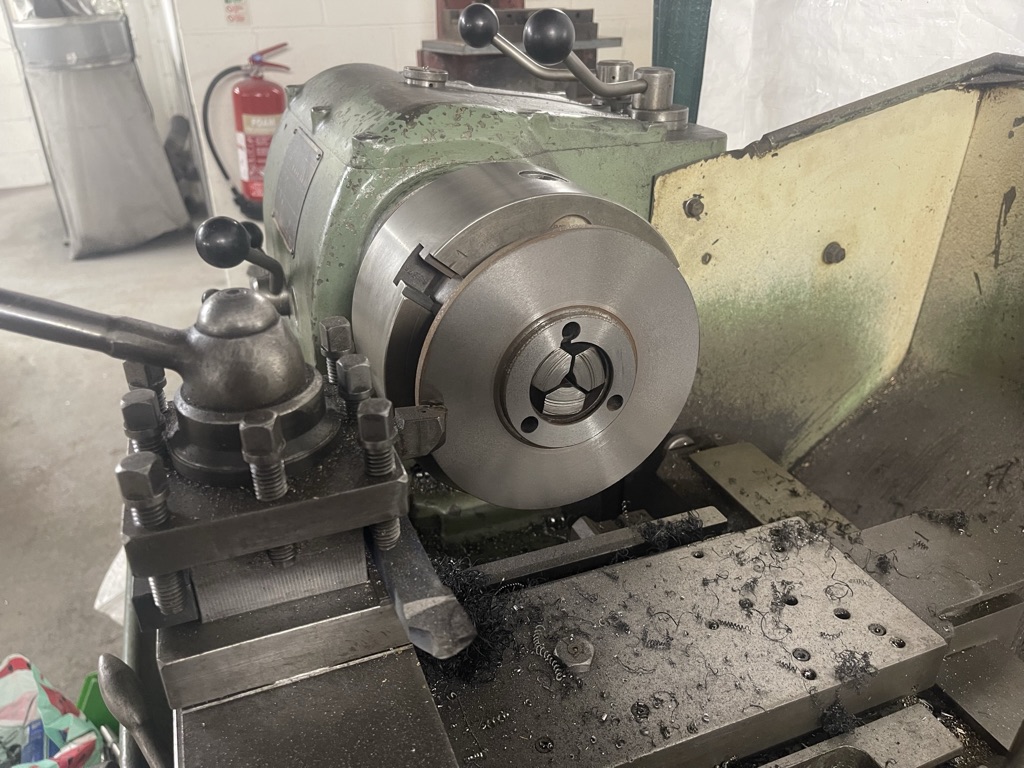
Once ready it was built. The plastic speedo drives was good and reused. If they were at all dodgy then I’d only use our steel drives which are ten times better. To avoid cracking the hub again on fitting the bearing I use our MB drift tool, which safely fits the outside bearing in place to it’s stop, then the circlip is fitted to hold the bearing in place. Do this cold so you can feel how tight the bearing fits. Heat the hub and freeze the bearing and you have no idea if the bearing is spinning in the hub – this is common and you need the good old loctite to cure that.
I use the same tool to fit the seals – (spring to the bearings) The trick is not to over fill the bearing area with grease as grease expands. If it’s full where can it go? At some point it will find its way to the disc and pads! Also bearings shouldn’t be over loaded with grease it burns and wears them out.
With bearings, seals fitted, and assembled correctly – this one felt egg shaped as it was turned. This usually shows with scrapes on the paint or epoxy coating which I hate as its too thick. It took a few rebuilds to find the high spots by removing the paint then with a feeler gauge I found the main hub had egg shaped and had to be stripped again to ground a couple of times!
It’s all in the preparation! No hammers required!
If you want your hub building correctly or your hub needs repairing get in touch.