Repair – Frame Sx200
YOU WOULD THINK A WORKING ORIGINAL SX200 FRAME WAS STRAIGHT FROM THE FACTORY?
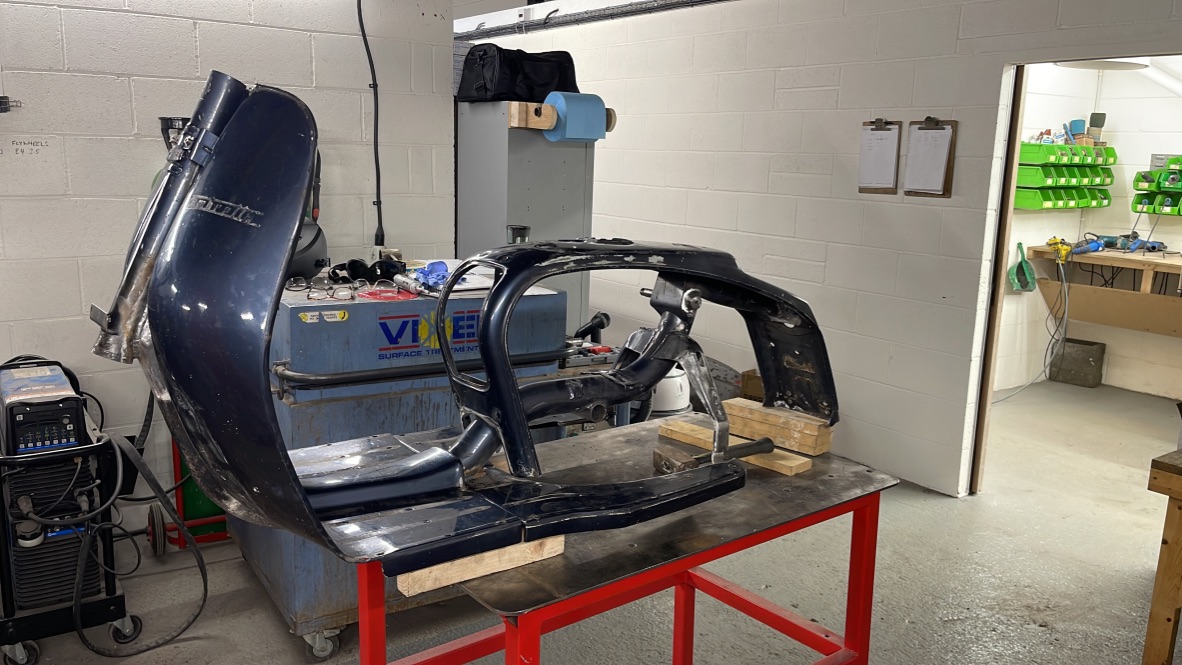
Errrrrr no! This is Rob Millers Sx 200, I’ve driven with Rob and to say he doesn’t hang around is an understatement. But he complained doing an arm signal made the bike shake!
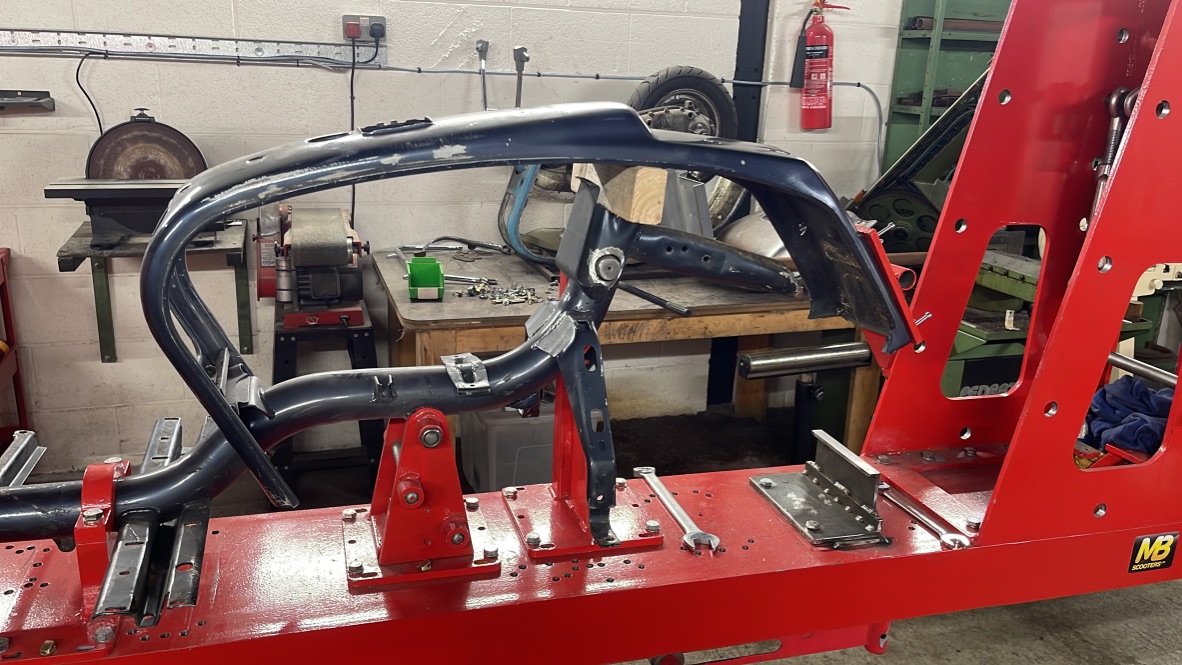
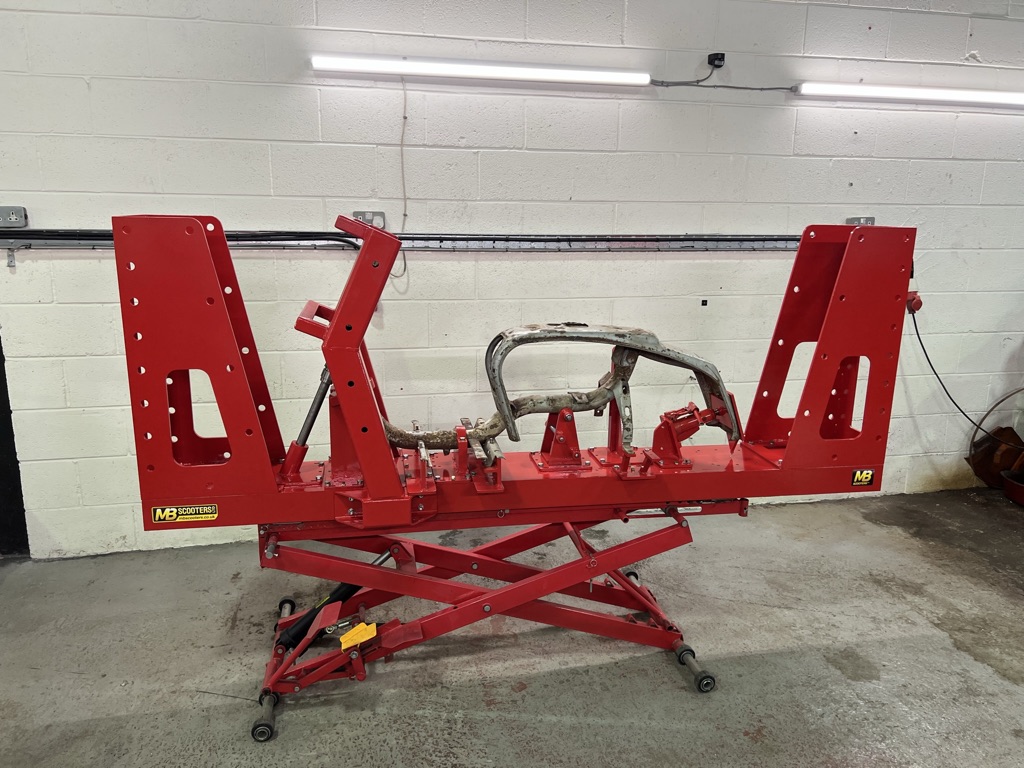
Having seen the development in our frame jig he thought it would be a good idea to have the frame checked. We checked the forks on our jig and they were spot on, an easy job – on and off and goodbye!
Now as for the frame – we fitted it to the jig, well it wouldn’t fit, so we removed all the adjustable bolts and fixtures and started from scratch. From this point it’s a case of fit as many locating pins as possible and as many bolts to get each fixture in place true.
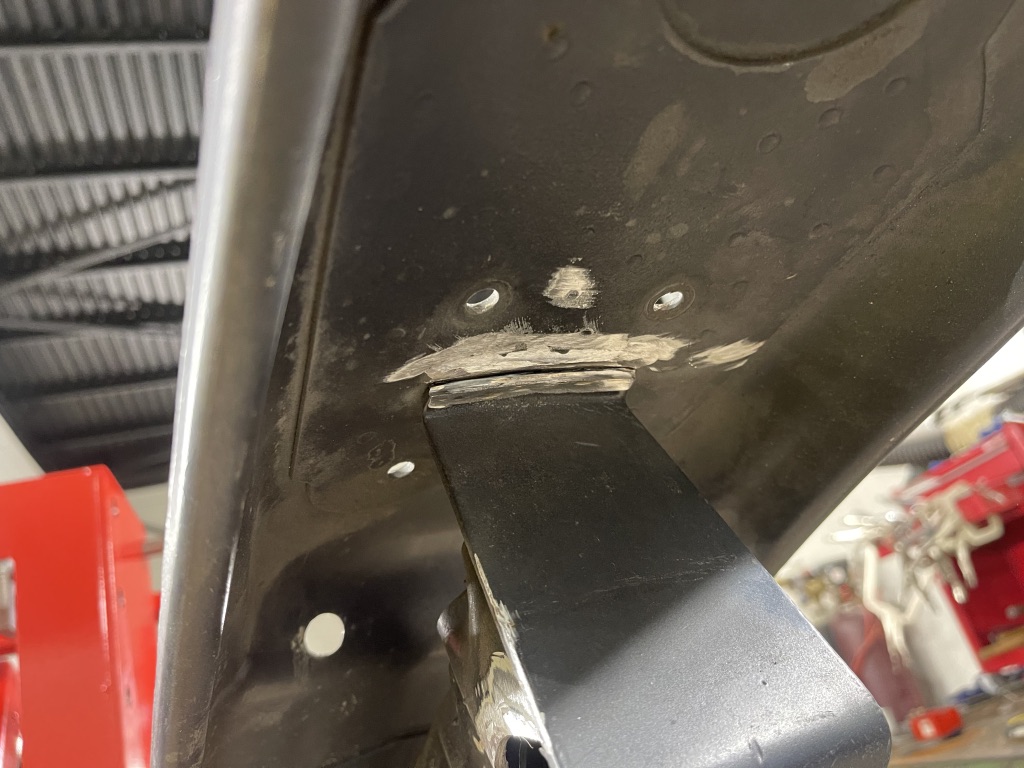
It was very clear this frame was not going to fit as planned. The top rear shocker mounting in the frame was 15mm out! This was an untouched, un repaired, non crashed frame – the answer was I wondered why my shockers pack in! Well they would, working at that angle.
So removing the rear shocker fixture we managed to fit the frame something like! BUT the rear frame top was also out by a good 10mm at the back end but in line at the front. Nothing to do with the shocker mount but the top section was welded on in the wrong place at the back meaning the rear wheel was looking offset to the number plate.
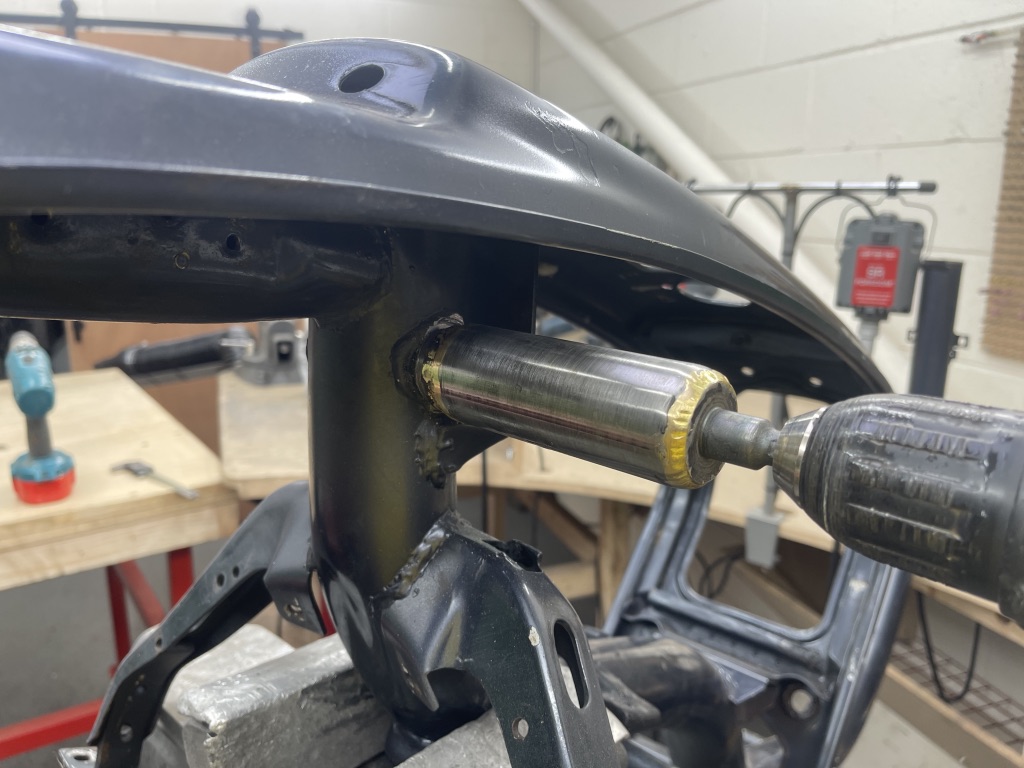
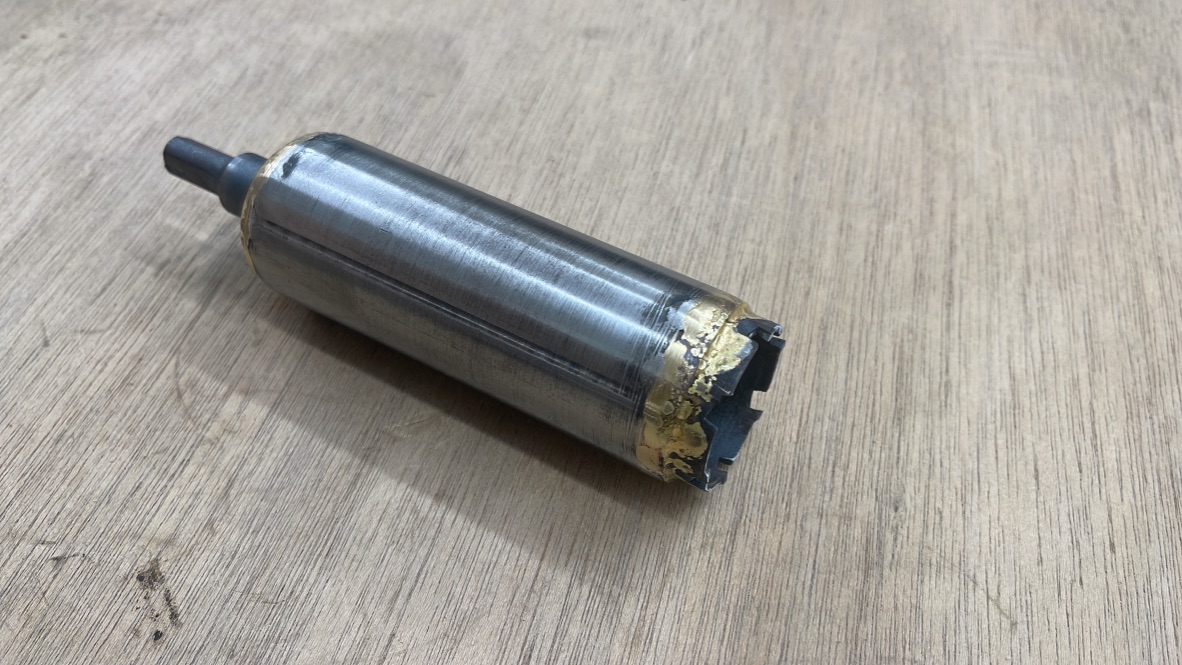
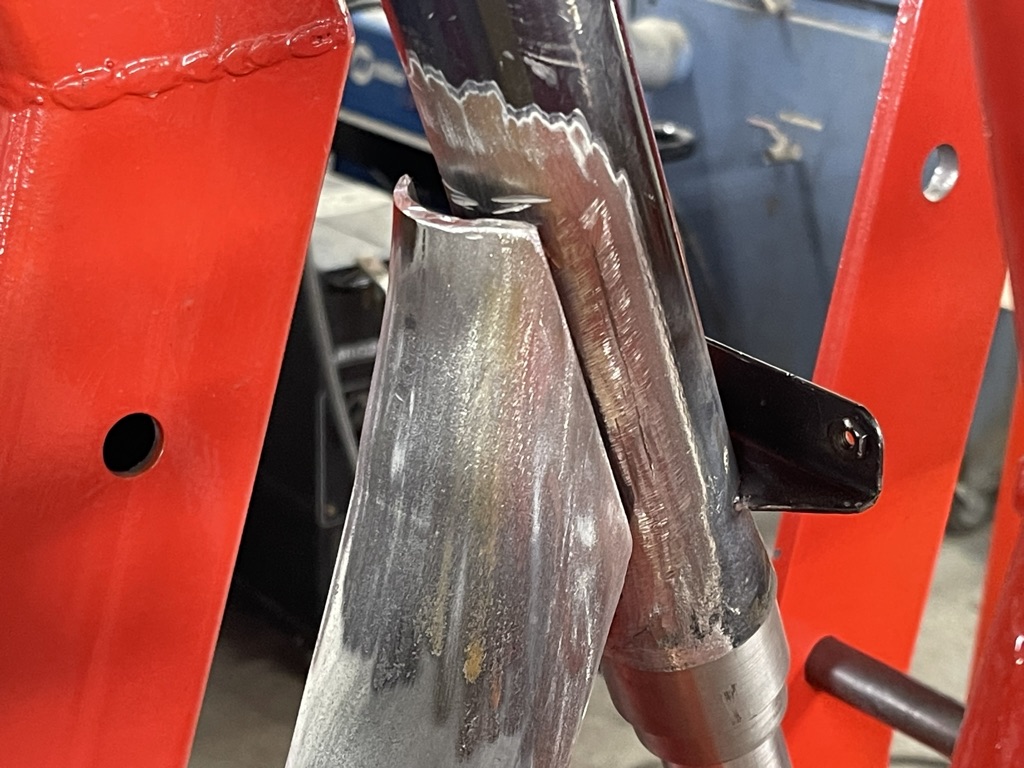
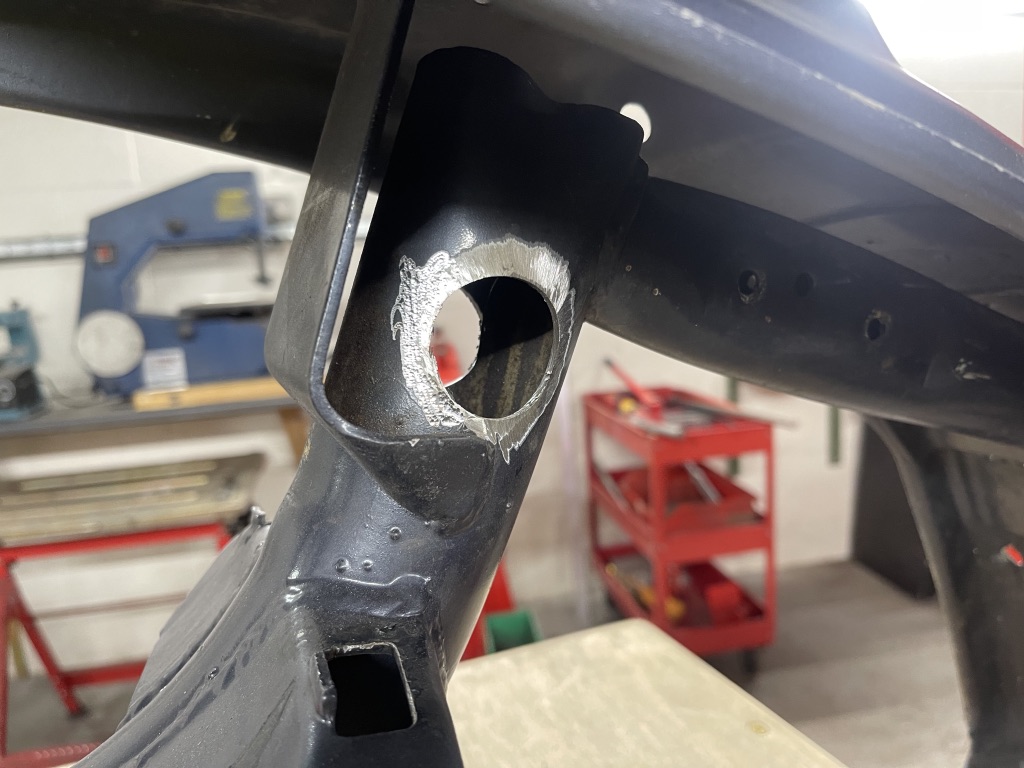
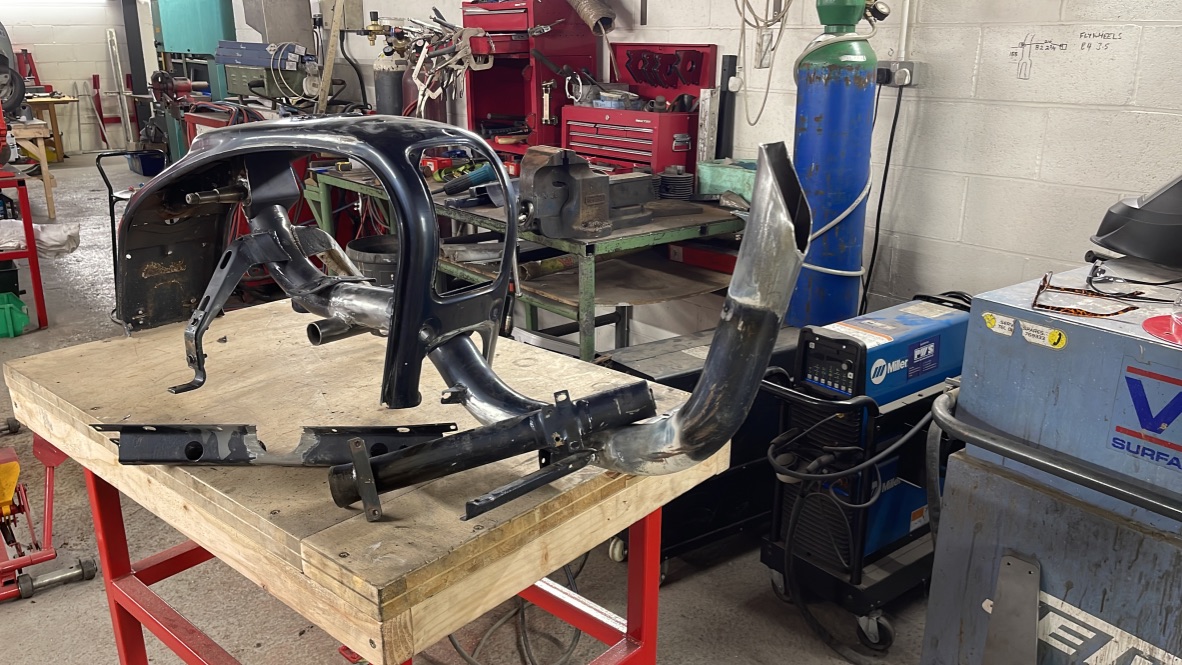
We looked at ways to get the top shocker mount something like in place but in the end I made a special tool to cut out the shocker mount from both sides to make it a neat job.
The top section needed the welds removing from under the seat and at the rear. That surprised me how flexible the top section was with only welding at the bottom of the toolbox and why they used to crack on group 6 bikes!
The top frame wouldn’t pull down to the correct height, which shows why some frames/panels look to have high ground clearances at the back end where the shocker compresses. More grinding was needed and the top frame had to be strapped down into position and trued to my pointers and welded fixed true.
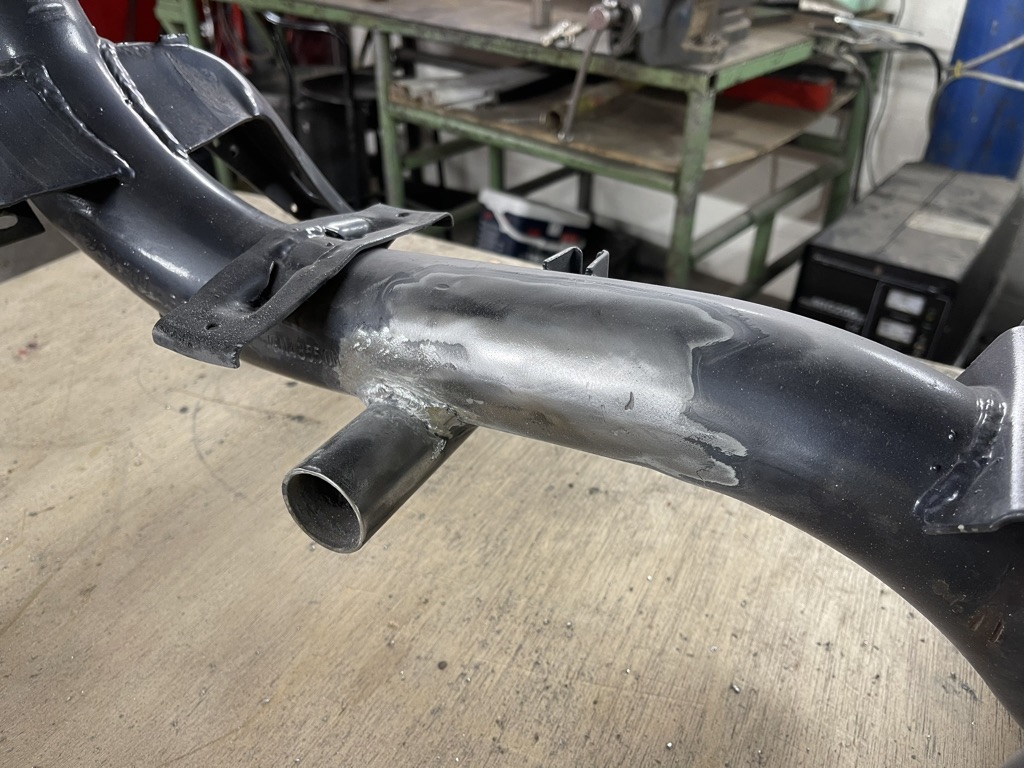
With the top shocker mounting set up true to the frame and engine mounting tube it was tacked welded again true. Now the frame is taking shape, the shocker back to where it should be, the top frame to the correct height and position.
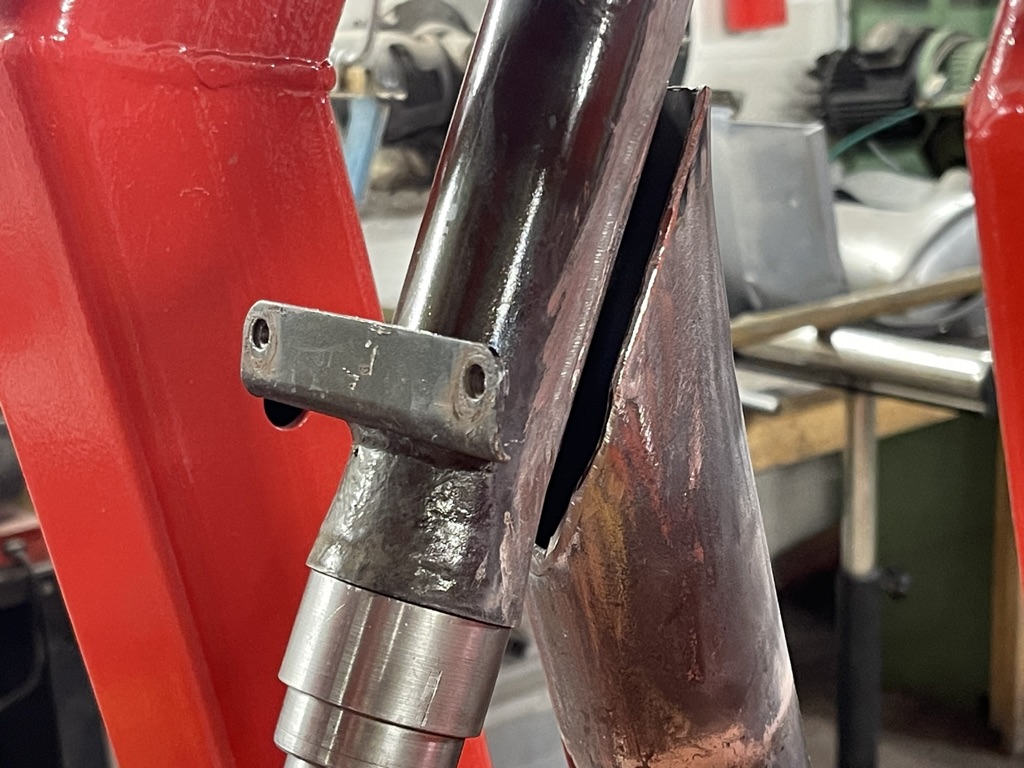
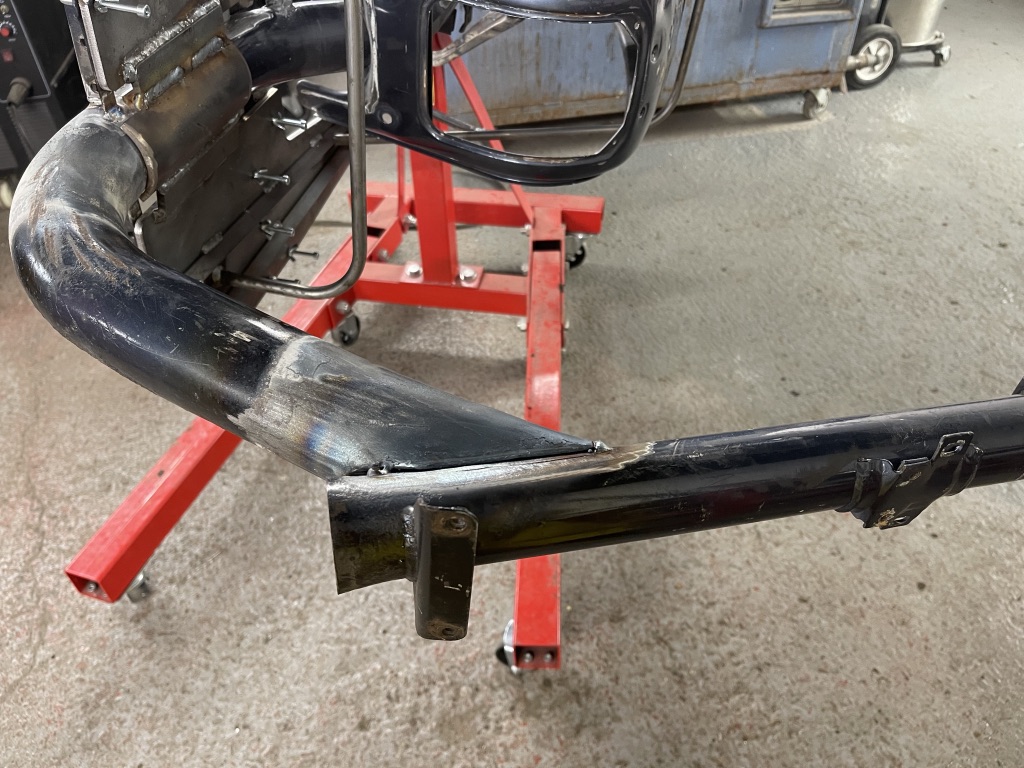
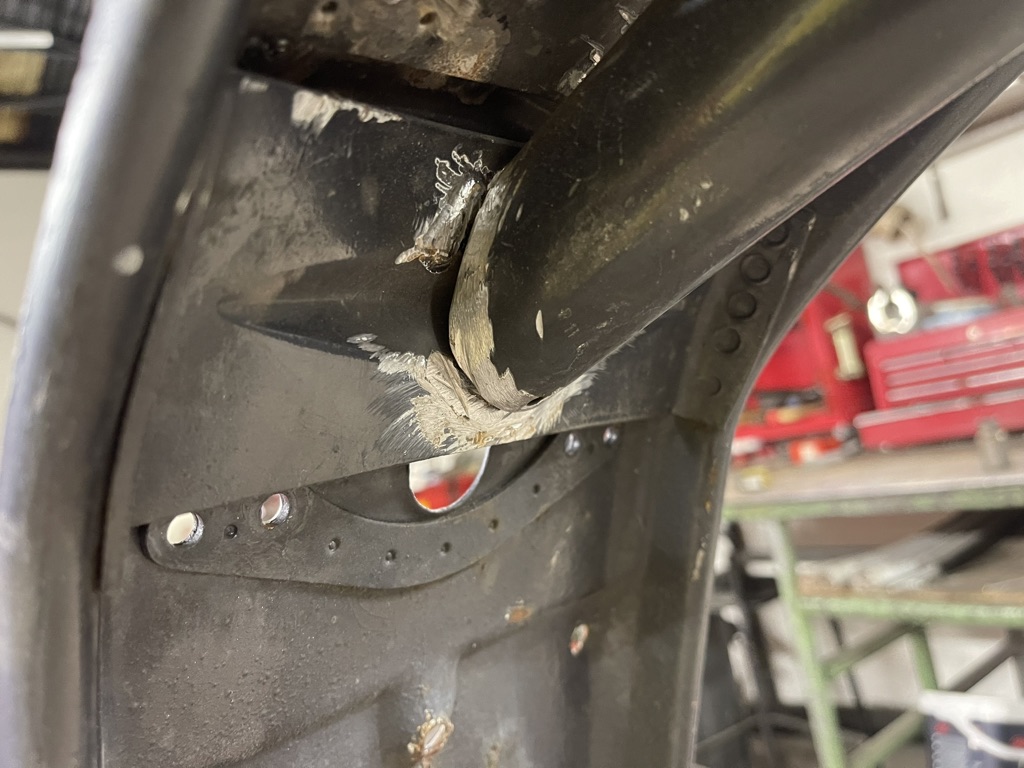
This lead to – the front steering column was off! Not to one side or pointing forward or backwards – just off and I mean off around 10mm off centre line of the frame tube from the back to the front with a laser.
The only cure here was cut off the steering column and even then it was still off, it needed one side grinding away to be tight and a big gap on the other side. To cure this the steering was set in place, the frame heated and pushed across in true then the column welded in place!
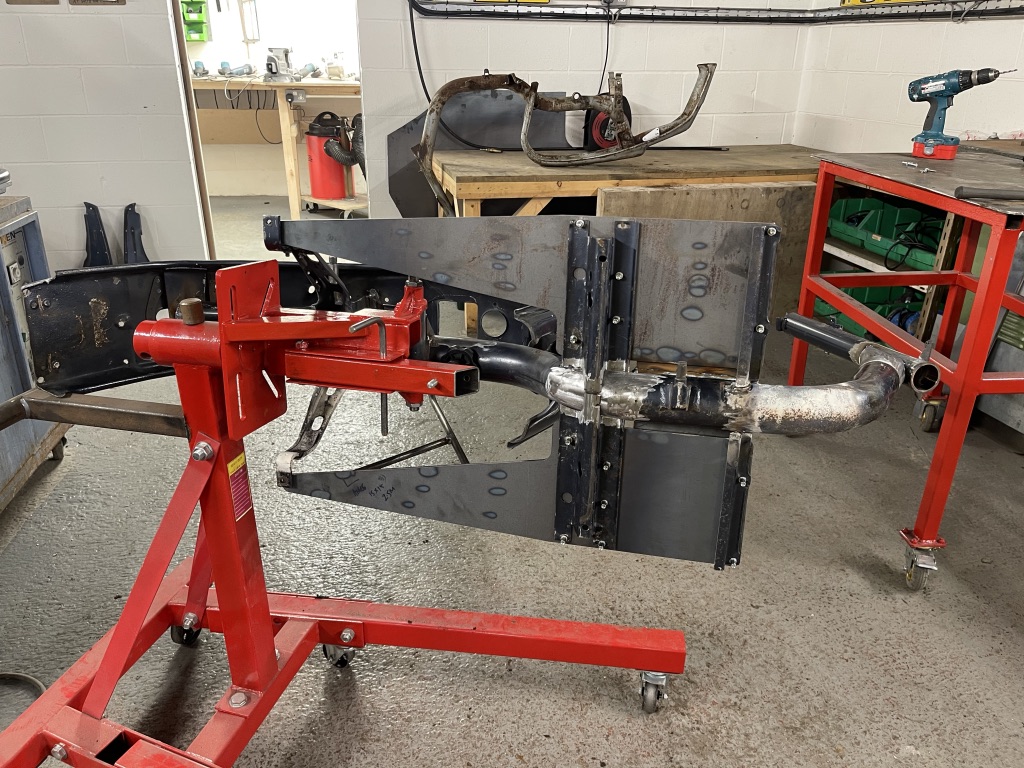
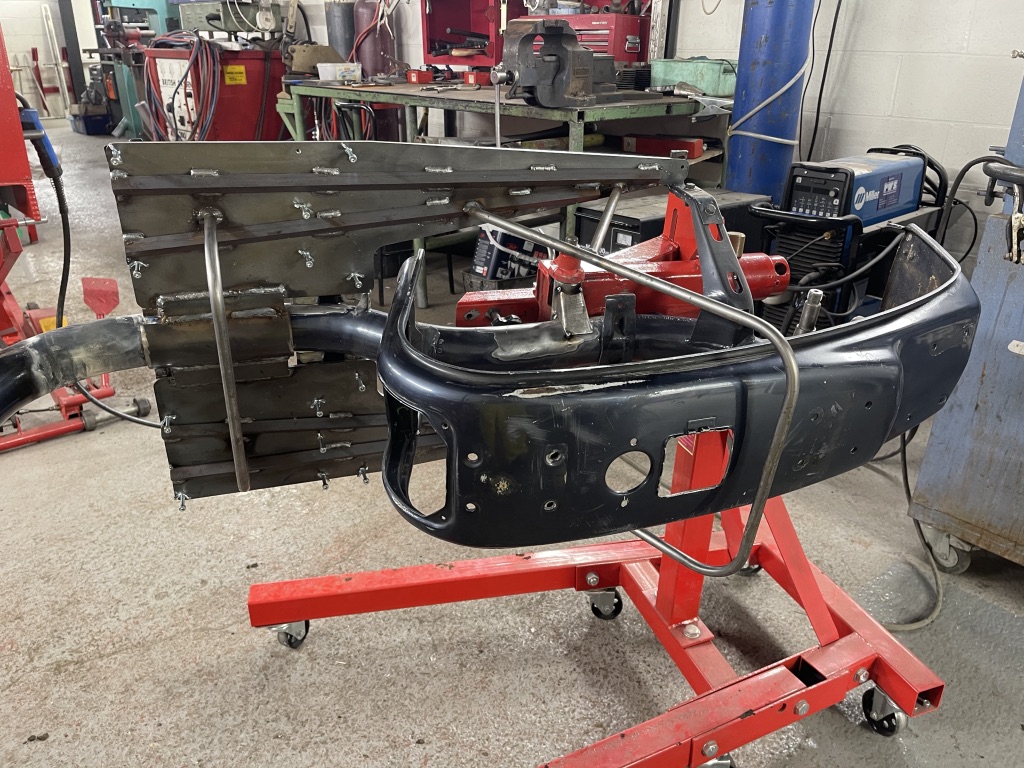
And all this before we even looked at the runner and leg shield struts which was obviously well off but they make no difference to setting up the frame tube. So they needed cutting off ready to weld in our frame rotisserie.
A big part of a neat frame is straight leg shield and runner struts, we made a truing fixture that fits in place where you bolt the various parts true. This was done, then all the welds cleaned and ground so you couldn’t tell it was repaired – final check! Did the leg shields fit, did the runners fit and did the side panels fit with correct clearances – they did.
18 hours later! In just the frame! Repaired leg shields, runners and side panels were extra!
This was a long one, I’ve done complete frame and bodywork repairs and modifications thats taken less time.
So if you have a wobble, or you dare not take your hands off the handlebars its not always the forks which are the usual problem – it could just be the frame wasn’t welded correctly from the factory on a Friday after too much Limonchello and coffee!
You expect this from an Indian or a Spaniard but not the Formula one of all Scooters – get real! A Lambretta is not as good as you think!